November 30, 2016

DIY Staircase Remodel

We are 4 years into a slow house remodel and the one thing that we continued to put on the back-burner was our stairs. We finally came to a point where we couldn't stand the eyesore they produced because they were front and center when guests walked in the front door. 

Here are some before pictures:


This was meant to be one of the weekend projects you see on Pinterest. Remove the carpet, sand and stain the treads, paint the risers, replace the newel posts and balusters and call it a day. 

Yeah...that didn't happen.

As we started to remove the carpet, we noticed that the stair treads were not one continuous piece but rather a 2x8 combined with a strip of 1x2.  

This along with the fact that the wood was some of the worst cuts I have ever seen, completely ruled out reusing them.  

The risers were not in much better shape. Sure they were 1x6's but there were huge gaps on the sides which proved to be too much to overcome. 


Our only choice at that point was to replace the treads with pine treads from Home Depot.


The risers were created using ripped down sheets of 5mm plywood. 


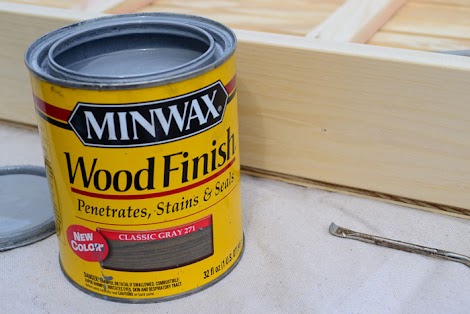
The top half of the stair treads were installed first and then stained and poly'ed.  We were able to access to upstairs by doing an every other night process. 


The lower half of the stairs were stained and poly'ed ahead of installation to make it easier. 

The main reason for this was so that I could replace the balusters at the same time as the treads and not have to worry about getting stain everywhere. 


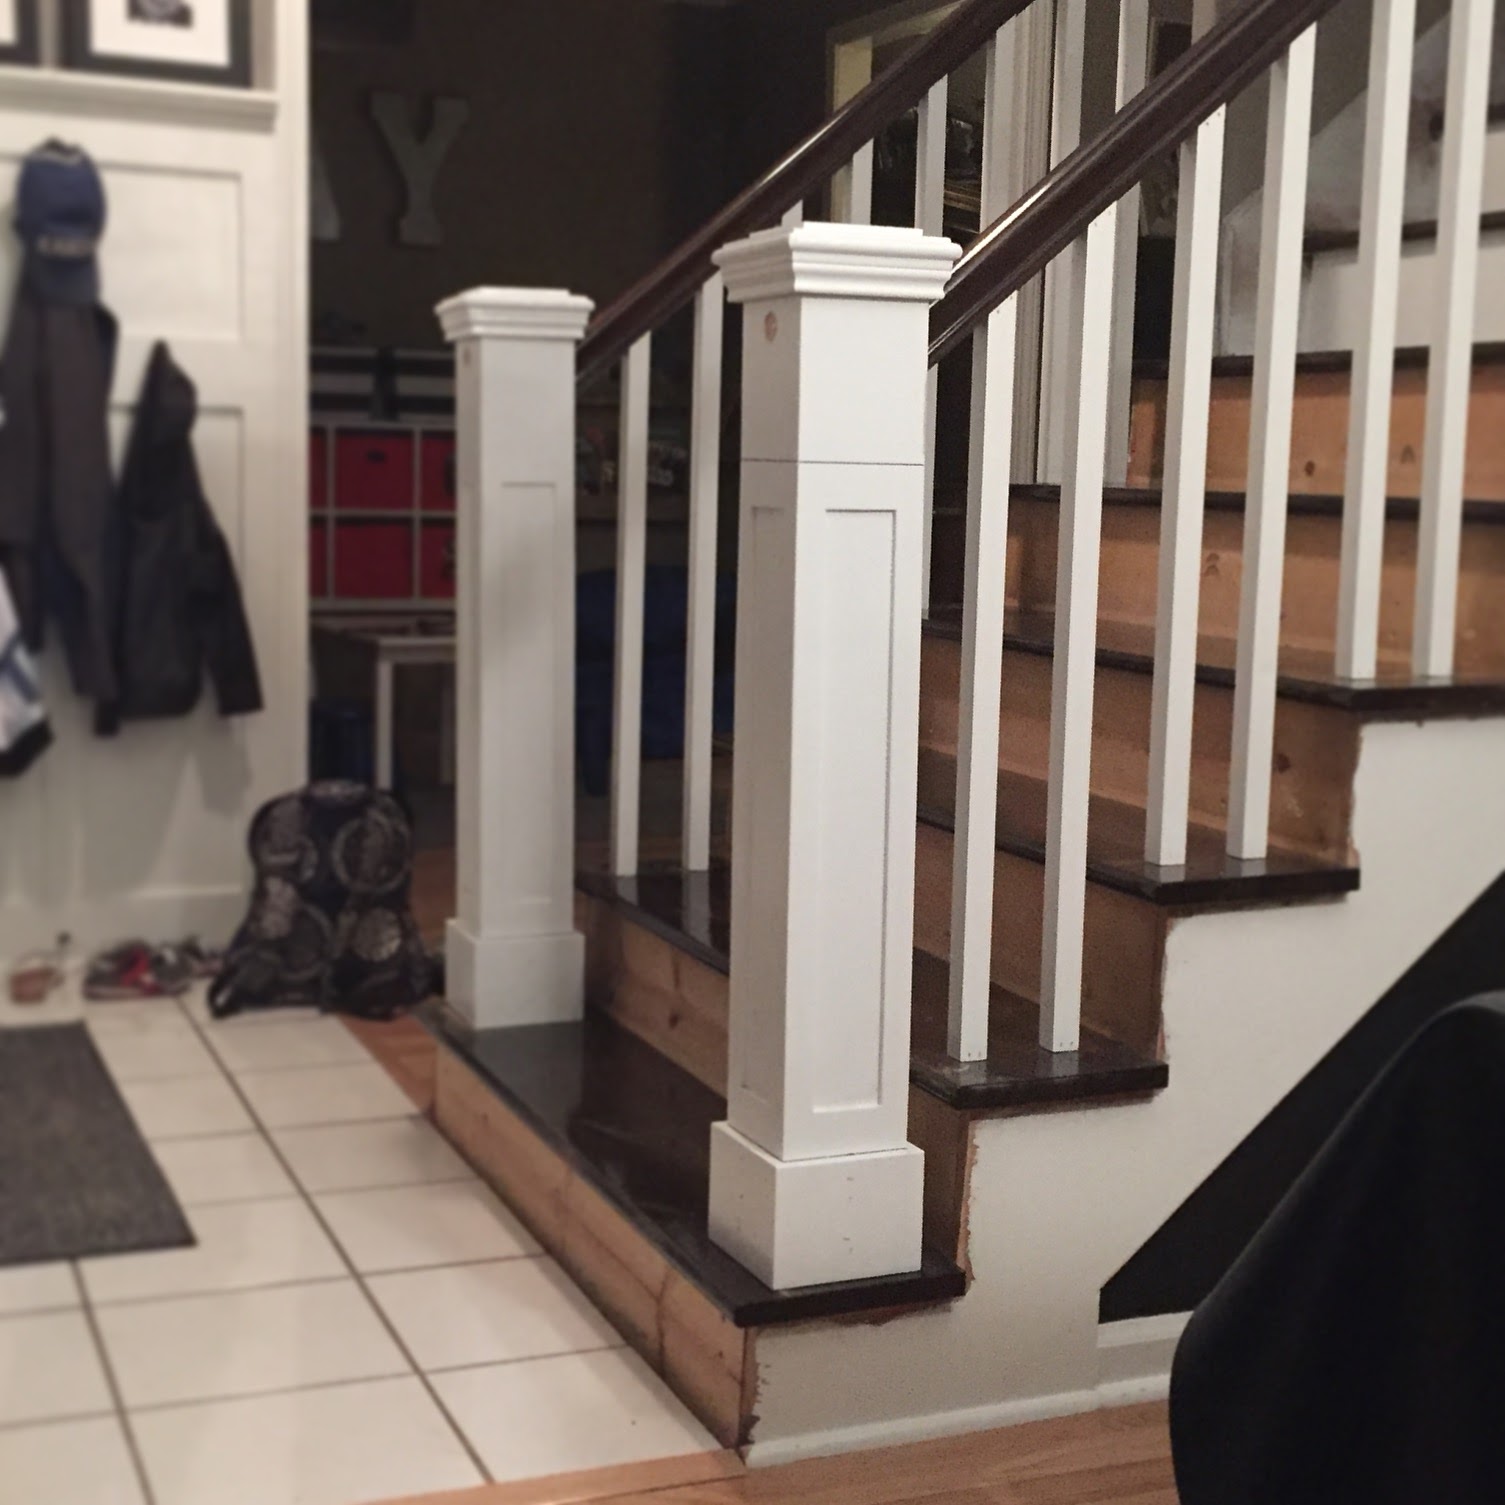
The new newel posts are actually mdf sleeves that I created and slid over the existing posts 


I created a jig to cut the rail with just enough space to slide the sleeve through and then secured with lag bolts.  


These bottom sleeves were left unattached so that I could raise or lower the main post to line up perfectly with the hand-rail. Once perfection was met, I nailed them to the main column.  


Here you can see the new posts and if you look close enough, you can see the brown plug that I used to cover the hole made by the lag bolts. 


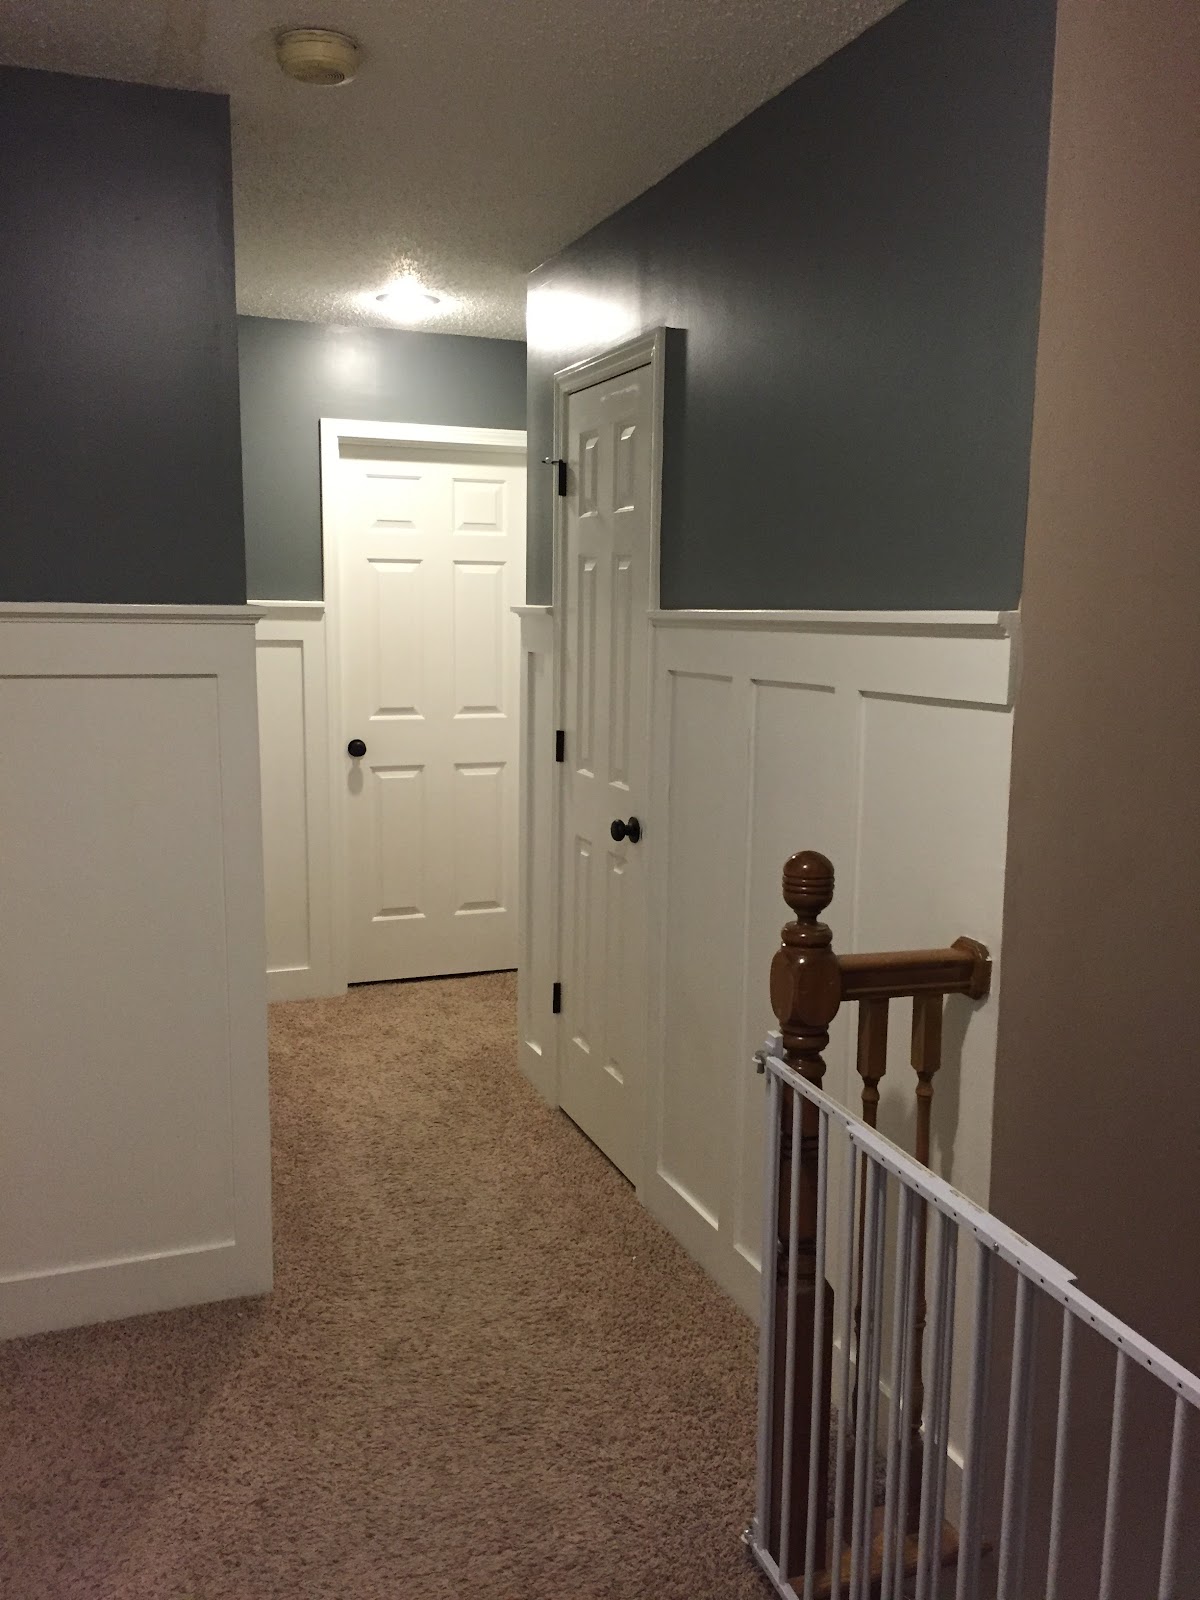
This project ended up taking a few months longer than anticipated but now that we are done we cannot be happier with the end results.

Next steps are to replace the flooring so that it matches with our new color scheme. 


June 10, 2016

Barn Door Baby Gate

Just a few pictures of the barn door baby gate I built inspired by Remodelaholic.com.  This door now graces the stairs of the photo studio where I did the barn wood wall (here). 


March 11, 2016

Photo Studio Project

I recently had the pleasure of working on a photo studio project for my sister-in-law and her husband. They are converting a portion of their home into a photo studio and asked me if I would be willing to create a feature wall in it.

Of course I would!

The concept was pretty straight forward.  They wanted the old barn wood look with two barn doors as the feature.  But instead of using barn wood, we decided to get some 1/4" plywood and create planks. The picture below shows all of the planks that I cut.  They are laid out in the driveway so that I can beat them up a bit to get that aged look.


After the planks were cut, I started to stain them using MinWax Classic Gray


The idea was to stain them gray and then go over them with white paint to create a bit of a distressed look. 

Board stained and painted.

Doing some distressing. 

My helper beating up the boards. 

After the boards were painted and stained, it was just a matter of cutting them to length and installing. I used a couple of nickles between boards to get proper spacing. 


And there you have it!  I noticed in this picture that the left most wall is not covered yet but in fact that was done as well.  

Next time I will show you the barn doors that are now the focal point of this wall!

In addition, I also made a baby gate half barn door that I will showcase in the future. :)


January 20, 2016

Board and Batten Hallway

There are only a few places left in our home that are original to the previous home owners. The upstairs hallway is one of those places.  For the first few years of us living there, we left the color as it was - beige.  Heck, we even put our pictures and decorations in locations that already had nails in place. Well this last summer, I had some time off and decided to change things up a bit.

We really like the board and batten look that we did near the front door so we decided to mimic that in this hallway.


The first step was to paint the top half of the walls and the doors and door trim.  We chose a blue-ish grey color for the walls and the doors and door trim was a high gloss enamel from Sherwin Williams. I also removed all of the floor trim.


After the trim, doors, and wall were painted, I went to the hardware store and purchased a few sheets of 1/2" mdf.  I have Kreg Rip-Cut attachment so cutting the boards to the necessary width was a breeze.


I first attached the new baseboard making sure it was level.  I then used a few precut vertical pieces to calculate where the top horizontal board should go.


Of course not all of the pieces lined up perfectly but that is why using MDF and wood putting works so well!  Filled in the holes and sanded down the edges and before long, everything looked perfect.

I capped the trim with a simple 1x2 pre-primsed piece of MDF and did a simple piece of molding underneath the trim.

A coat of primer and a few coats of the white enamel paint and we were done!


Our next project will be to tackle that banister and eventually some hardwood floors. 

January 13, 2016

November 24, 2015

Barnwood Wall


Its been 6 months since I last posted and judging by the amount of emails, you people want more content!  Just kidding. No one reads this blog. :(

So instead of putting up a lengthy tutorial on how I create this barnwood wall, I am just going to post some pictures. If you want info, leave me a freaking comment.

Completed Wall

Boards cut, stained and painted

My Helper